Materials
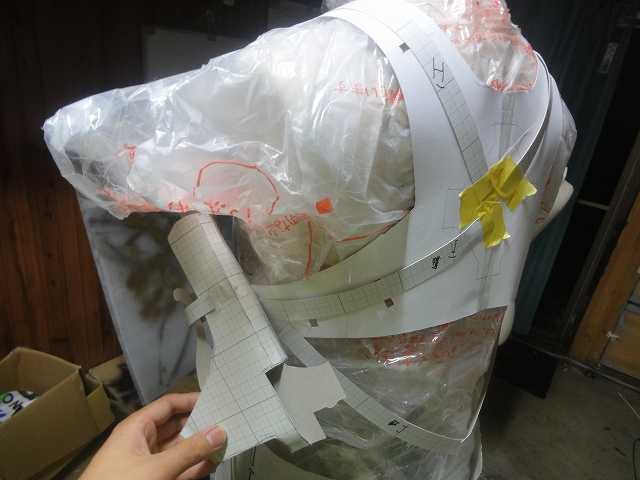
[Materials for making templates]
-Drawing paper 10sheets
-"Kousakuyousi"(one of hard paper in Japan) 5sheets
-Scotch tape(Sellotape) 3pieces
-Packaging tape(parcel tape) 1piece
[Main materials]
-EVA foam
→1.5mm or 2mm thick 100cm X 60cm
→5mm thick 100cm X 10cm
-White Synthetic leather 100cm X 40cm
-Black Synthetic leather 100cm X 50cm
-Silver Synthetic leather 100cm X 10cm
-Black Cloth 100cm X 60cm
-"Bond G17"(one of sticky glue in Japan) 200ml
-Liquid super glue 2pieces
-Hot melt(glue gun) 10pieces
-Velcro 50cm
-Cord 20cm
-Rivet 12pieces
-Snap 2pieces
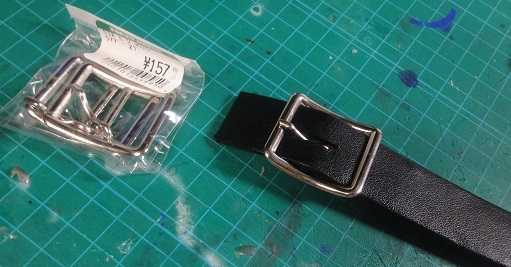
-Buckle 11pieces
-Hook 1piece
Additional explanation
-After printing, it becomes easy to use by sticking it on Drawing paper with spray glue.
-Mention called "x1","x2" etc are number of cutting pieces.
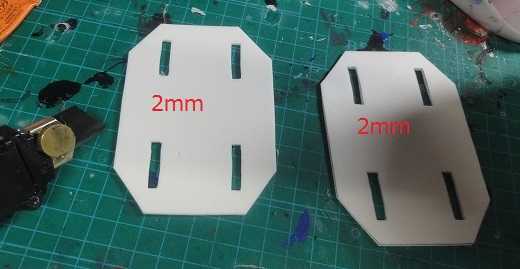
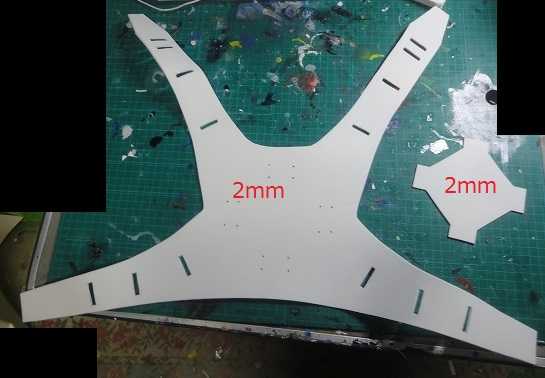
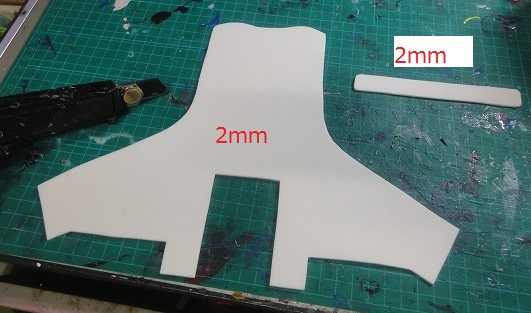
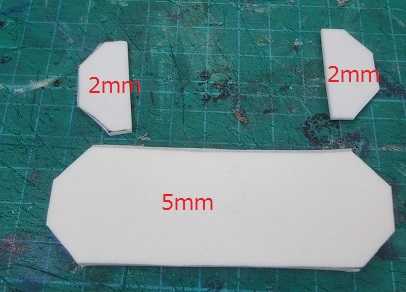
-Mentions of "2mm" , "5mm" etc are thickness of EVA foam.
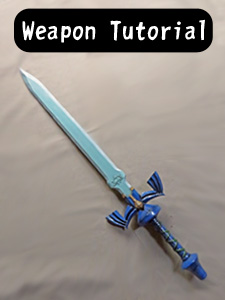
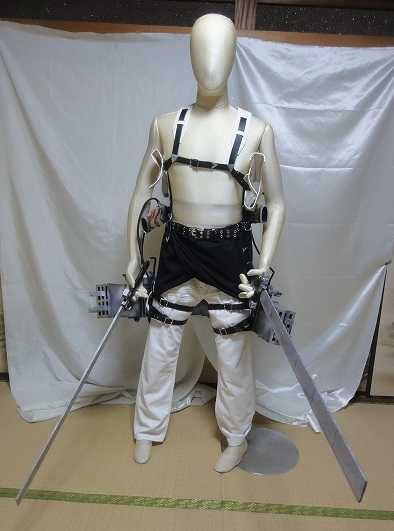
Blade Completion image Caution Bellow photo is a image photo aftet completing. Caution Don't print bellow photo. Caution Read "How to print".
Sheath Completion image Caution Bellow photo is a image photo aftet completing. Caution Don't print bellow photo. Caution Read "How to print".
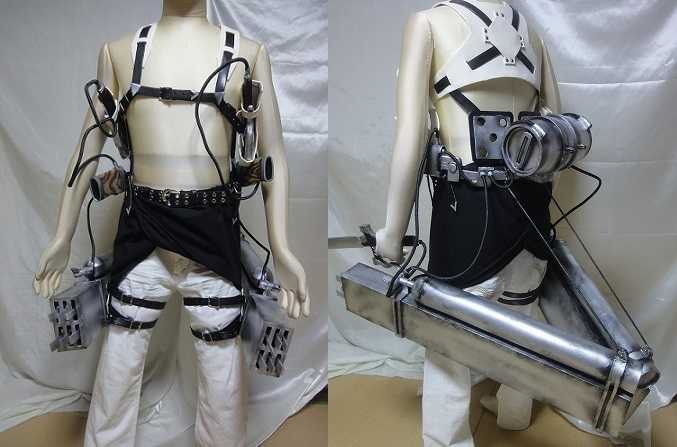
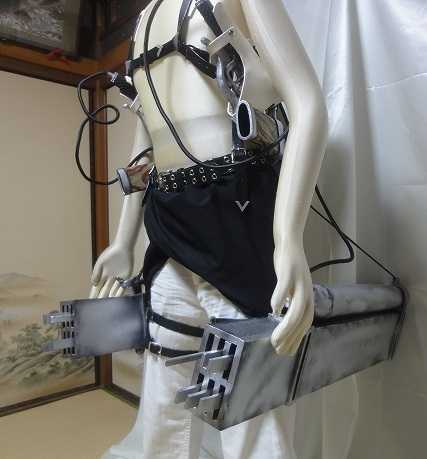
Tank Completion image Caution Bellow photo is a image photo aftet completing. Caution Don't print bellow photo. Caution Read "How to print".
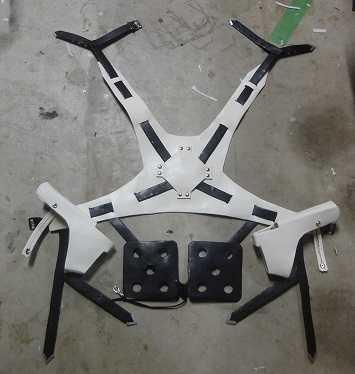
Anchor and frame Completion image Caution Bellow photo is a image photo aftet completing. Caution Don't print bellow photo. Caution Read "How to print".
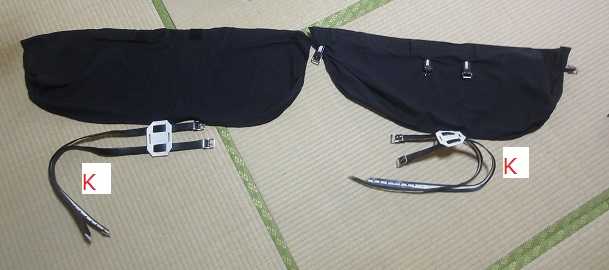
Belts Completion image Caution Bellow photo is a image photo aftet completing. Caution Don't print bellow photo. Caution Read "How to print".
Attention in the work
-When you uses a thing including the thinner(Bond, lacquer thinner etc) or spray, make good ventilation.
And wear a gas mask.
-When you toast mterials etc, make good ventilation.
And don't breathe smoke, don't put smoke in your eyes.
-When you dig mterials etc with Soldering iron, make good ventilation.
And don't breathe in smoke, don't put smoke in your eyes.
-Don't use fire near the things which are easy to burn such as paint, thinner
etc.
-When you finished using tools, pull an outlet.
-Read labels of materials and tools, and understand how to use.
Please support me
If my tutorials supported you, please support me.
-Support method 1
Please join my YouTube channel's membership.
Just $0.99 per month.
These are membership benefits.
-Early access of new videos
-Prioritize replying to comments
-Videos for only members
etc
-Support method 2
Please suppor me by YouTube's SUPER THNAKS.
It's the supporting function for Youtube videos.
It look like SUPER CHAT.
Click this banner.
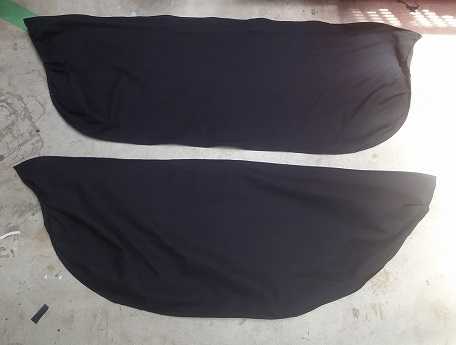
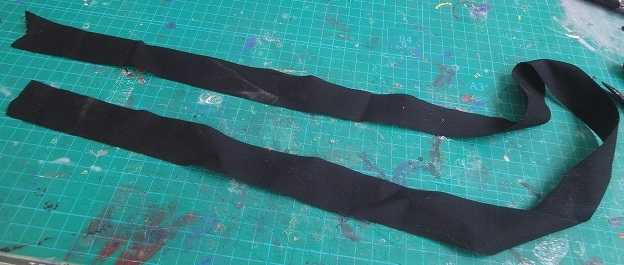
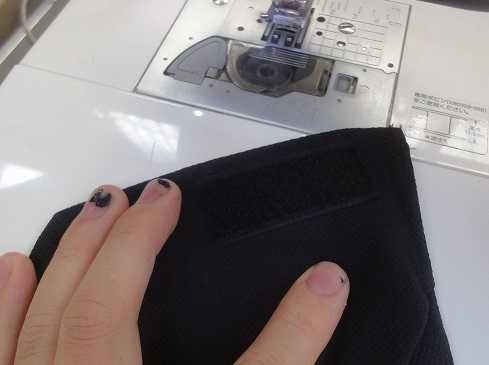
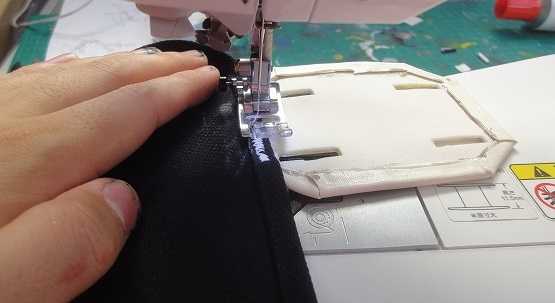
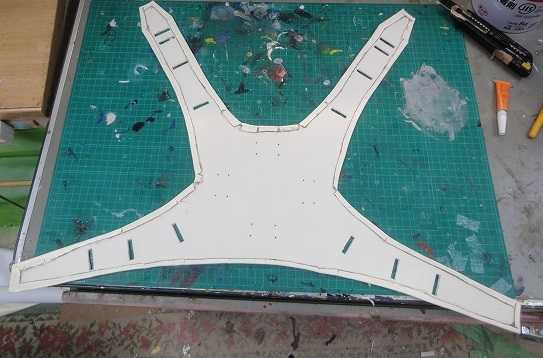
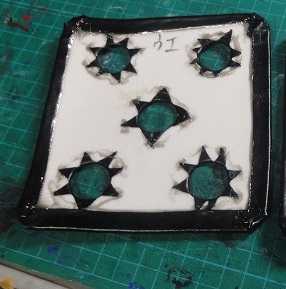
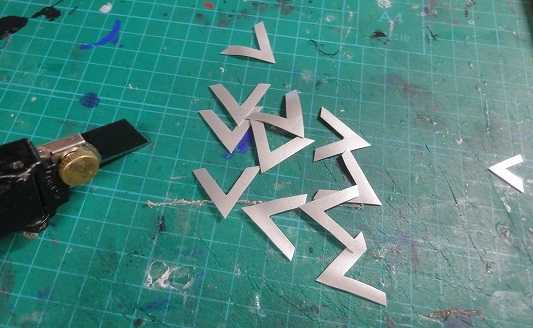
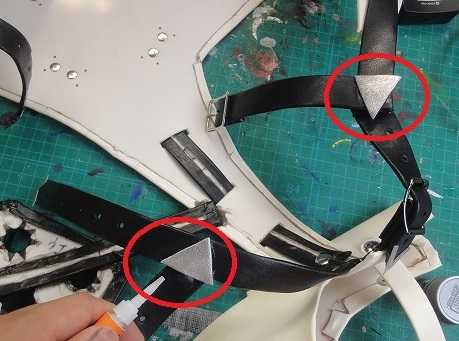
Make the part for fitting the sheath.
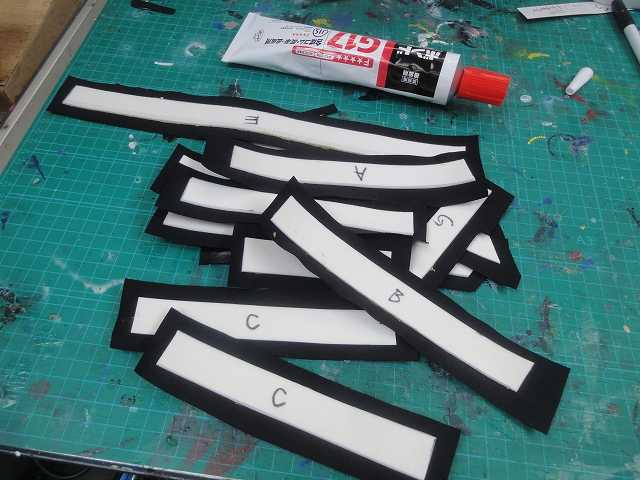
Cut material into the Templates form.
Cut out 1.5mm or 2mm thick EVA foam.
EVA foam is soft material.
You can process it easily.
Other names are EVA board, EVA zote, Craft foam etc.
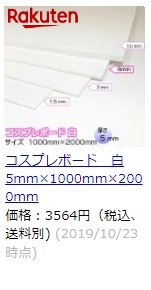
Cosplayers all over the world use this.
It's sold in Amazon or AliExpress etc.
Introduction video
Use a sharp blade. For example, "Pro Blade".
This is so sharp. ←10枚入り ←50枚入りお得パック
Use Standard art knife or Cushion grip art knife to cut small ornaments etc, too.
Standard art kinfe is for 1.5mm thickness and 3mm thickness.
Cushion grip art knife is for 5mm thickness and 10mm thickness.
↑刃はついてないので→の替え刃とセットで買うこと
●1.5mm厚コスプレボードを楽天で買う
送料無料の5枚セット
●1.5mm厚コスプレボードをAmazonで買う
●2mm厚COSボード匠を楽天で買う(COSボード匠はAmazonでは売ってません)
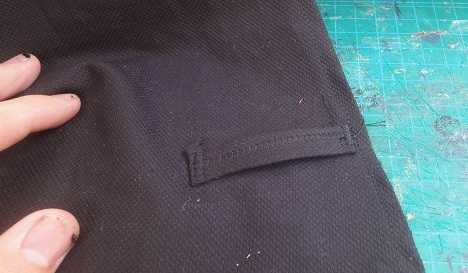
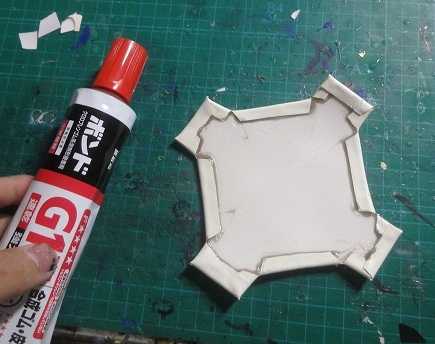
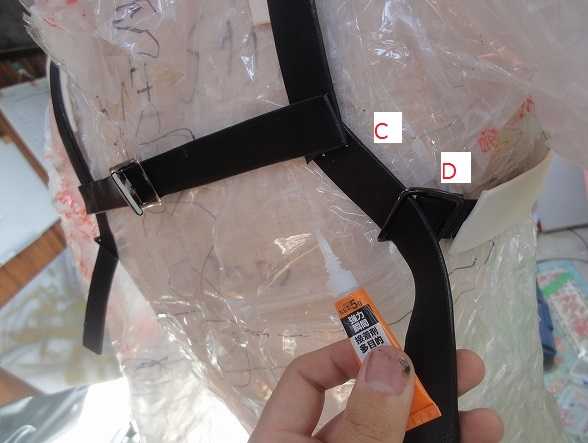
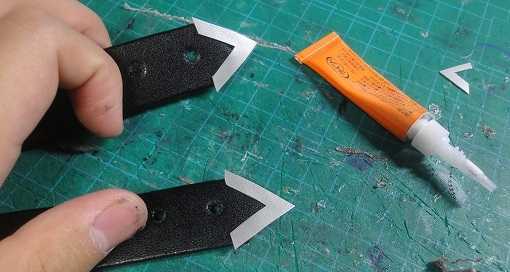
Glue Synthetic leather with "Bond G17"(one of sticky glue in Japan). Details are here. Don't use fire until drying, because "Bond G17" burns easily. Don' use a Lighter etc until drying.
チューブ入り(箱入り)の方が使い勝手はいいですが、缶入りの方がコスパは断然良いです。
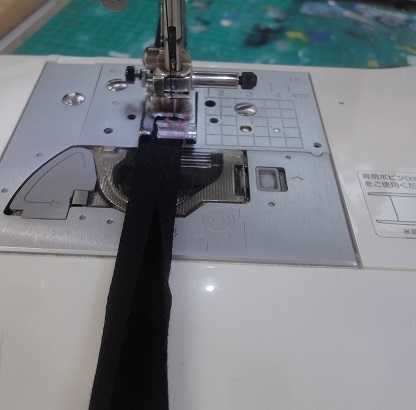
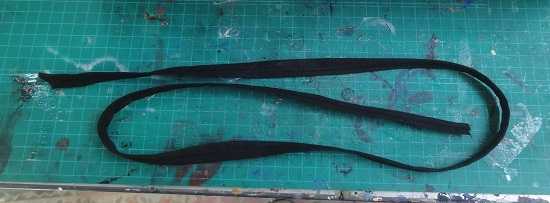
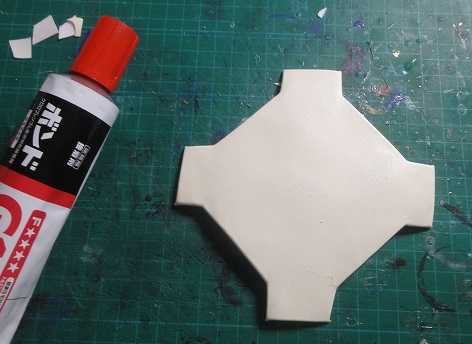
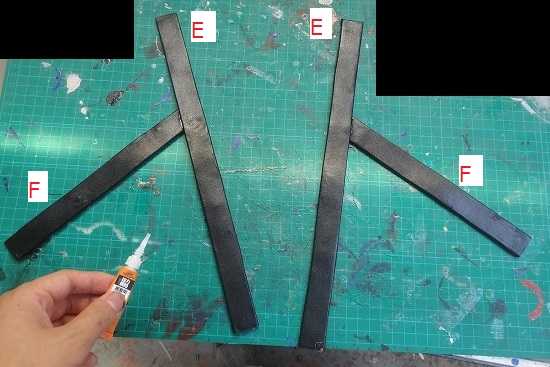
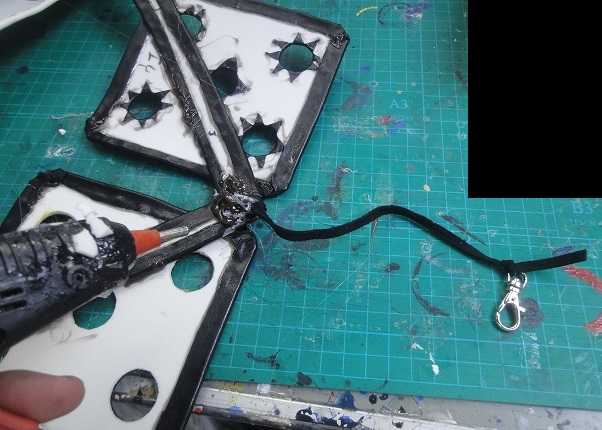
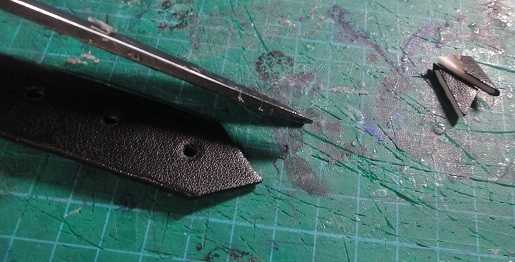
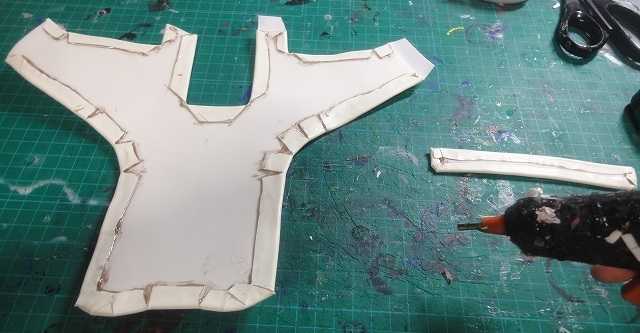
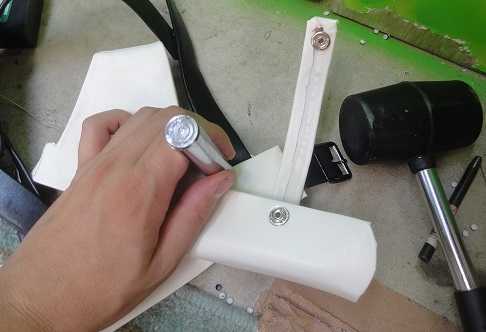
Turn up the end.
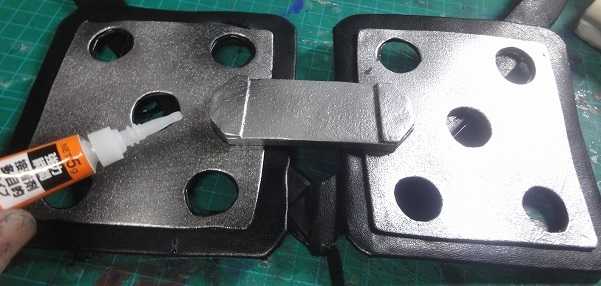
Glue with a Liquid super glue.
When you use a Super glue Accelerator, Hardening speed becomes fast.
(Smoke may be generated. Don't breathe in the smoke and don't put in eyes.)
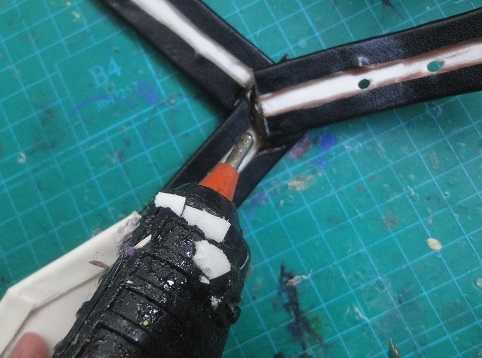
Super glue accelerator makes hardening time short.
It's so useful.
Watch this video.
When you use 100ml, you can make a armorset or about two, three weapons.
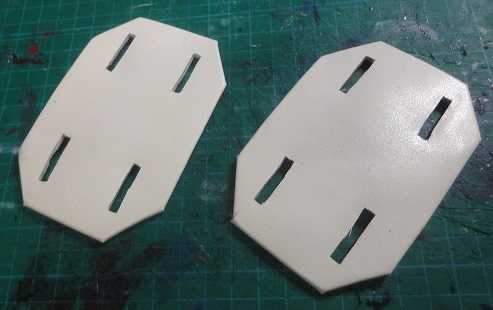
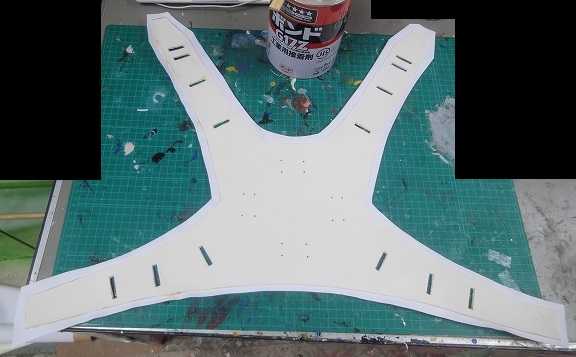
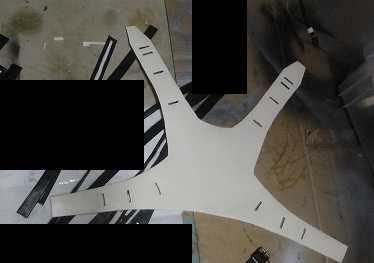
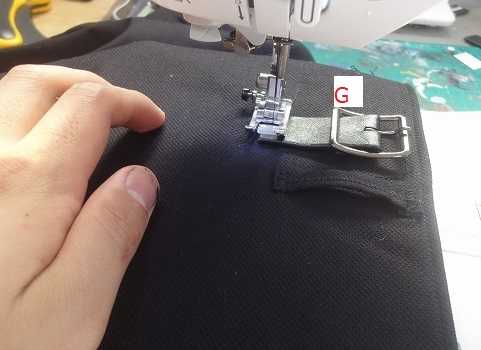
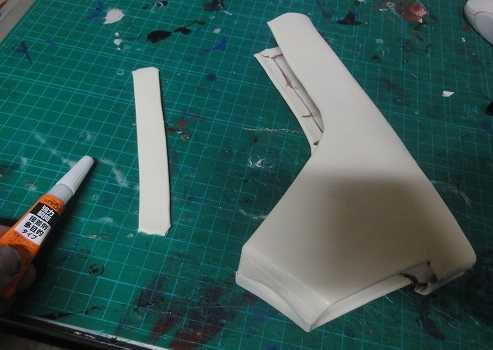
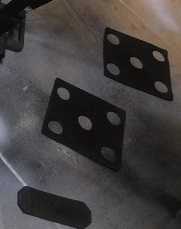
Make the back pad.
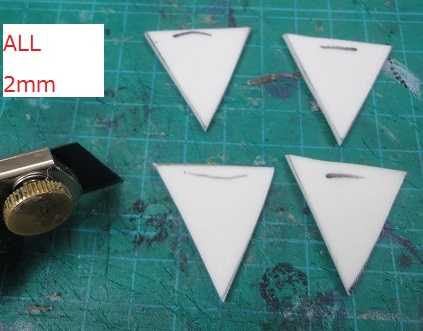
Cut material into the Templates form. Cut out 1.5mm or 2mm thick EVA foam.
Cut material into the Templates form.
Cut out 1.5mm or 2mm thick EVA foam.
Cut material into the Templates form.
Cut out 1.5mm or 2mm thick EVA foam.
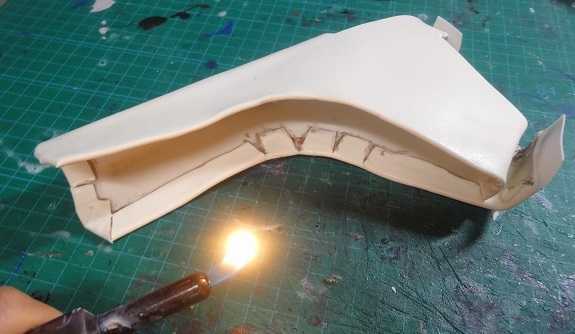
Make the edges smooth with a Soldering iron (Don't breathe in the smoke, be careful a burn).
Or, cut it by edged tools.
(Actually I used fire, but it's dangerous method. I recommend a Soldering iron
If accedents happens, it's self-responsibility)
Please follow X(Twitter)
Please follow my X(twitter).
Painting
Begin painting.
At first, paint undercoat on EVA foam.
The effects are as follows.
-Color becomes well.
-It becomes hard to come off.
-Gloss comes out well.
-You can save quantity of the paint.
【Merit】
-It's usable just to paint with a paint brush.
-Gesso don't contain thinner, then you can use it in the room.
-You can use also Acrylic paint.
-There are several colors one, white black etc.
【Commodities page】
3."Bond G17"(one of liqud glue in Japan)
This is dangerous method, it's most likely happening fire.
I wrote about this method as a archive,
However I don't recommend this.
I don't use this method now, I use other method now.
If accedents happens, it's self-responsibility.
【Merit】
-It'st hard to peel off.
-It can use for PVC pipe or plastic sheets.
【Demerit】
-"Bond G17" is japanese commodity. Then you can't get it
easily.
-It needs thinner, then you must work outdoors.
-It burns easily. Don't use fire until drying, because "Bond G17" burns easily. Don' use a Lighter etc until drying.
The parts will be charred in seconds.


